Finishing That Seals Out Coastal Moisture
Drywall Finishing in Greenville for taping, mudding, sanding, and texture application on new and repaired surfaces
Raw drywall panels with visible seams, exposed fastener heads, and unfinished edges require multiple finishing steps before they're ready for paint. The finishing process transforms rough installation into smooth, continuous surfaces that hide every joint and fastener. JM Drywall finishes new and repaired drywall with taping, mudding, sanding, and texture application across Greenville and East Texas, where construction standards and coastal moisture environments require quality finishing to prevent mold and water infiltration at seams. Three-coat mud application, power sanding, texture spray matching, and primer prep create surfaces that perform structurally while providing the uniform appearance interior spaces require.
Finishing begins with paper tape embedded in joint compound over every seam where panels meet. Additional compound coats follow, each one feathered wider than the last to gradually build a level transition between panels. Fastener heads receive compound application to fill dimples left by screw installation. Power sanding smooths dried compound without gouging the paper face, preparing surfaces for texture application that matches existing finishes or creates new patterns across entire rooms.
Request a detailed estimate that accounts for your surface area, texture complexity, and whether work involves new construction or matching existing finishes.
What Changes After Finishing Completes
Three-coat application starts with embedding tape and filling seams, continues with a second coat that extends six to eight inches beyond the first, then finishes with a final coat feathered even wider to eliminate any visible ridge where compound meets bare drywall. Each layer dries completely before the next goes on, with sanding between coats removing high spots and tool marks. Texture application uses spray guns for orange peel or knockdown finishes, hand trowels for skip trowel or Santa Fe patterns, or remains smooth if the design calls for painted surfaces without texture. Primer application seals both the drywall paper and dried compound, preventing differential absorption that causes paint to appear blotchy.
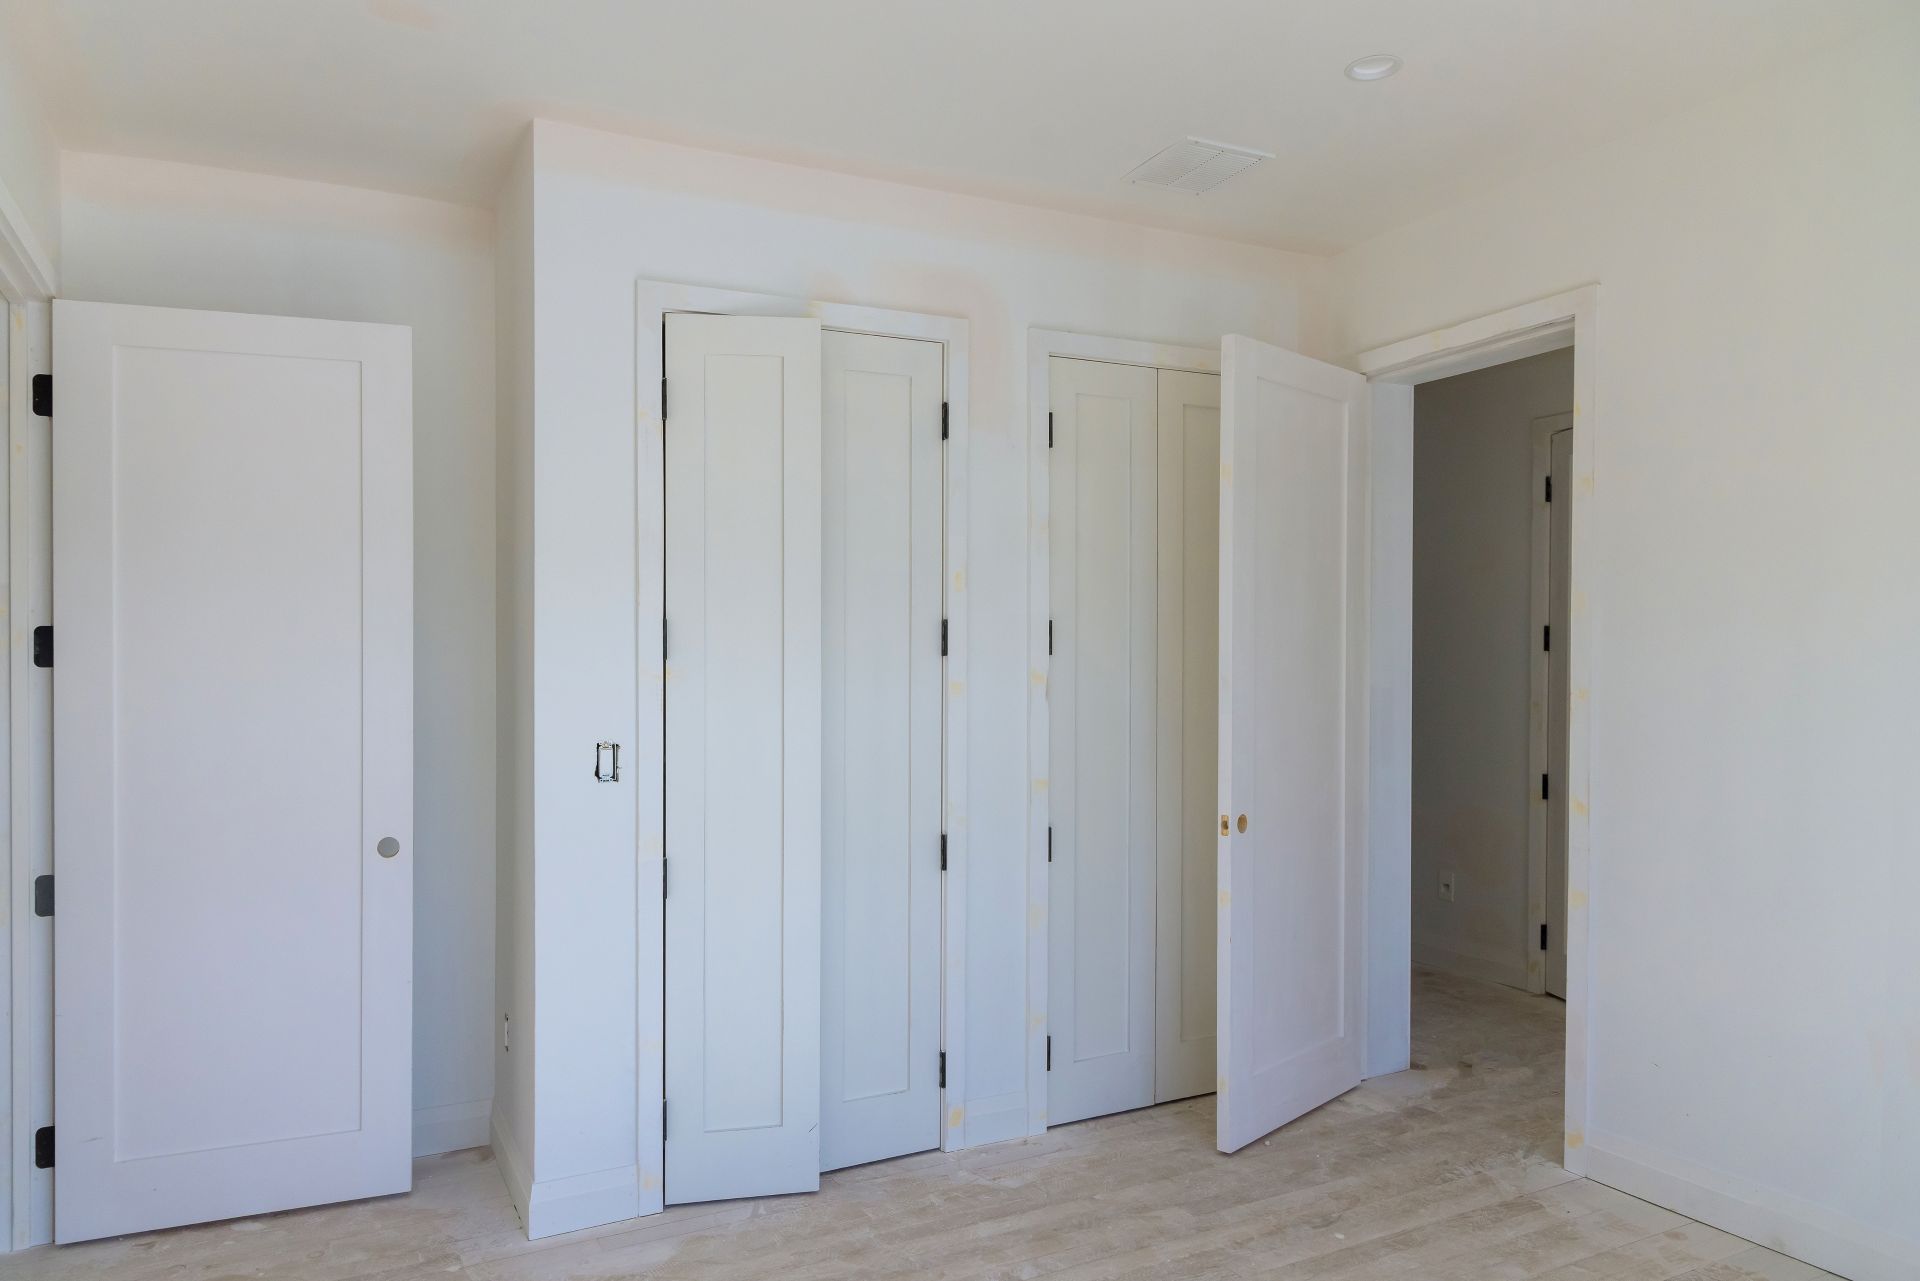
Finished walls and ceilings show no visible seams, fastener locations, or transitions between panels. Running your hand across the surface reveals uniform texture without ridges, valleys, or rough patches. Light striking the wall at sharp angles no longer highlights installation joints or creates shadows where panels meet. Surfaces are ready for paint application that will appear uniform in color and sheen without requiring extra coats to hide imperfections beneath.
Finishing quality also affects long-term performance, since improperly taped seams can crack as buildings settle, inadequate fastener coverage allows nail pops to show through paint, and rushed sanding leaves scratches that become visible once top coats are applied. The difference between Level 3 and Level 5 finishes determines what wall covering or paint type can be used successfully, with higher levels required when flat paint or critical lighting conditions will expose any surface imperfection.
Questions Before Starting Your Project
Builders and homeowners planning drywall finishing work often ask about process duration, finish levels, and how to achieve specific appearances.
How long does drywall finishing take from taping to primer?
Finishing typically requires three to five days for a full house, accounting for mud application, drying time between coats, sanding, texture application, and primer, with humid conditions in Port Aransas extending drying time compared to arid climates.
What's the difference between smooth and textured finishes?
Smooth finishes require additional sanding and compound coats to achieve Level 5 standards, showing every imperfection under flat paint or angled light, while textured finishes hide minor irregularities and provide visual interest with patterns like knockdown or orange peel.
Why do some finished walls crack at seams later?
Cracks develop when buildings settle, when insufficient compound was applied during finishing, when paper tape wasn't properly embedded, or when rapid temperature changes cause expansion and contraction in the drywall panels.
When should texture be applied during the finishing process?
Texture goes on after all sanding is complete and surfaces have been inspected for defects, but before primer application, allowing the texture pattern to dry completely before any paint or sealer is applied.
How do you match existing texture when finishing repairs?
Matching requires identifying the pattern type, selecting the right compound consistency and spray tip or hand tool, then practicing the technique on scrap material before applying it to the actual repair area where it must blend seamlessly.
JM Drywall provides full finishing services for both new construction and repair projects across the Rockwall County to East Texas corridor. Contact (817) 228-4767 to schedule finishing work and discuss texture options that suit your design requirements.